Build a Splunk Dashboard with ChatGPT
In this blog I’ll demonstrate how to build a Splunk XML Dashboard by using AI only. Following a case study, I will guide you step-by-step from the initial concept to a fully developed dashboard.
For this exercise, I used the Cinq ICT website as a base and reference for the layout and aim to create a dashboard that can serve as the homepage for a Cinq ICT Splunk app. For the dashboard code generation, I’m making use of so-called Large Language Model (LLM) bots. In this case chat GPT, the 3.5 free version. I’ll also use the Dall-E 3 image generation via Microsoft CoPilot to generate some logo images for our Data, DevOps, and Development Unit. Feel free to use the prompts in this case study in combination with other LLM bots to see the differences in the image or code generation.
The concept
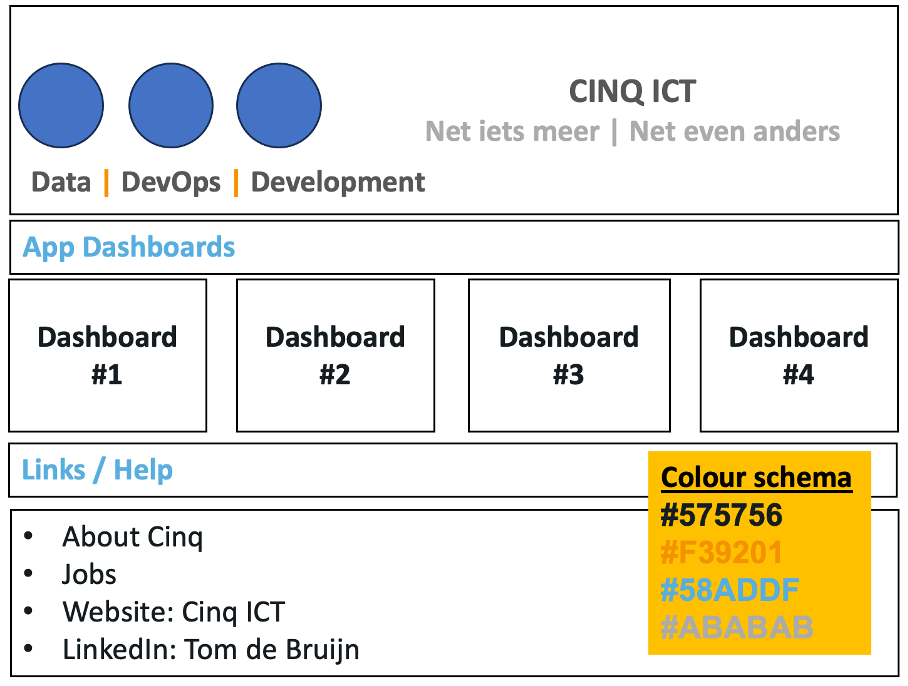
Below I visualized the concept for the Splunk dashboard. The goal is that AI creates the code for each dashboard component, based on 4 prompts.

1. At the top, we have a header that includes an image with accompanying text below and on the right.
2. Below that, there will be a headline row “App Dashboards”, a copy of this code will be used to create the “Links/Help” headline.
3. Between these 2 headlines we have 4 tiles with the dashboard 1/2/3/4 links
4. At the bottom, a list of URLs.
The colors indicated in the color schema are picked from the cinq website and will consistently be used in the AI prompts. The blue circles in the header will be replaced with the generated images.
Tips & Tricks for using AI LLM Bots
When asking things to a LLM bot like ChatGPT it’s important to take the following tips/tricks into account for better responses.
1. Be Precise: Clear, detailed inputs yield better responses.
2. Simplify: Break complex questions into shorter ones.
3. Follow-Up: Ask clarifying questions if needed.
4. Provide Context: Background information enhances relevance.
5. Highlight Keywords: Emphasize important terms to focus the response.
6. Avoid Ambiguity: Frame questions clearly to reduce misunderstandings.
7. Confirm Understanding: Summarize responses to check accuracy.
The general idea is to leave few to no room for interpretation, as that will cause inaccurate responses.
The prompts
As shown in the concept above we need 4 prompts to generate the dashboard. We’ll take it top-down and begin with the header, applying the tips outlined above. I’ll write the below query in chatGPT. Based on my experience with AI and Splunk code dashboard generation, I know that I need to explain a few more details to get the right response. I already instructed chatGPT to change the <dashboard> tag by including version 1.1, a light theme, and a hidden title. I also ensure to use self-closing <br> and <img> tags. Finally, I eliminated the grey spaces between rows using CSS. If you don’t know – and therefore may not apply - these instructions you will get code that does not work properly in Splunk and then you need to manually apply these fixes in Splunk, also a good exercise.
Prompt 1 - Header
Please create a header for a Splunk XML dashboard using HTML/CSS. I need a white background with rounded corners with 3 mid-left-aligned image placeholders from left to right (logo_1.png, logo_2.png, logo_3.png) in the Splunk Search app directory, 350px wide and 100px tall). 8px padding-bottom, Below the image, include the text "Data | DevOps | Development" in #575756, with the '|' in orange (#F39201), all bold and 24px. On the right, place the text "CINQ ICT" in bold, 48px, #575756, padding-right 80px padding-botton 12px, with a smaller subtitle "Net iets meer | net iets anders" in #ABABAB, 26px, no padding. Use <dashboard version="1.1" theme="light" hideTitle="true"> to start, and ensure all image and br tags are self-closing. With CSS set the .dashboard-header class min-height to 0px; and the .panel-body.splunk-html padding to 0px;
Optional Prompt: Images
Generate a logo, a circle shape that symbolizes Data Analytics using only colors #58ADDF , #575756, #F39201.
For the 3 images I have used the above prompt, changing the text “Data Analytics” to “DevOps” and “IT Coding/Development”. Using Microsoft Designer, I Downloaded the images and placed them locally in Splunk search app folder src="/static/app/search/data.png".
I got the following images.

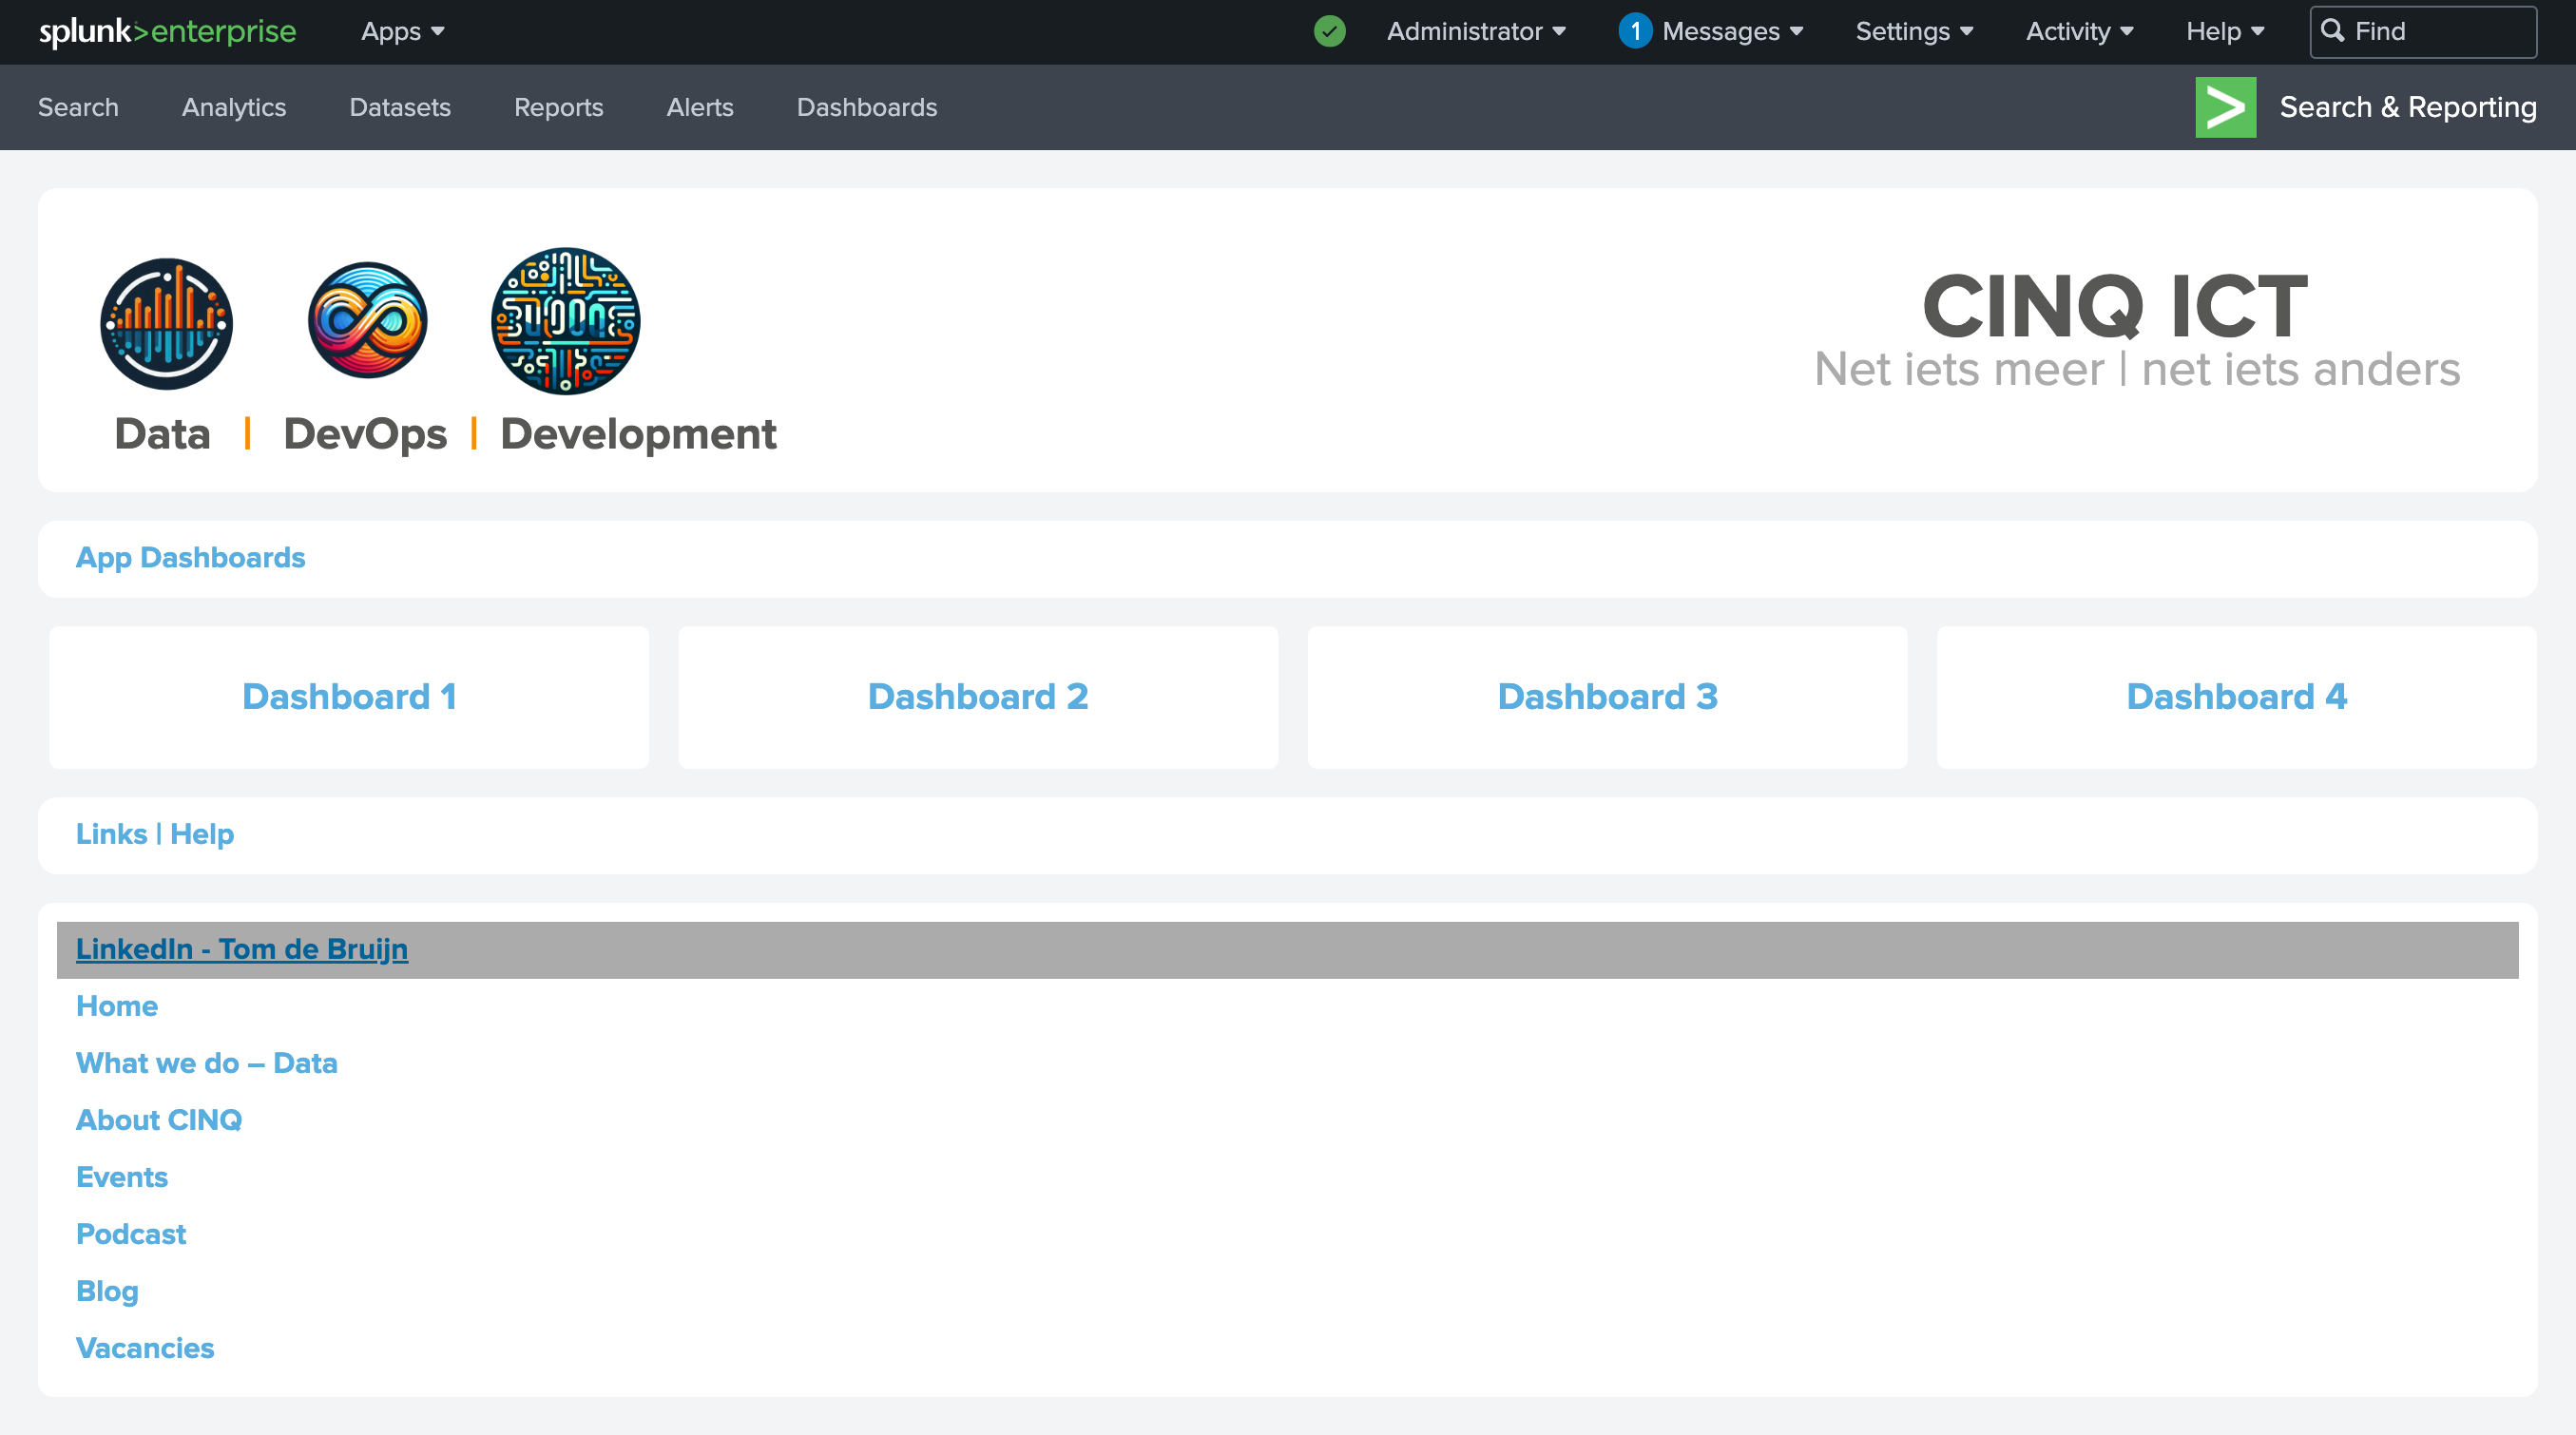
The first prompt with the images gives the following result, note that it will slightly differ each time based on what chatGPT generates. It looks as follows:

Prompt 2 - Headlines
For an existing Splunk XML dashboard I need a new row that creates a small headline with rounded corners. A white background and a text “App Dashboards” in blue #58ADDF, bold and 16px, aligned left. So start and end with the row tag, omit the dashboard tag.
Note that I instructed chatGPT to clearly only add the row tag here, so we append to our previous code. I copy the rows 2 times in Splunk, so I have both headline rows. The code is now as follows and the dashboard looks like this:

Prompt 3 – Tiles
For an existing Splunk XML dashboard I need a new row with 4 clickable tiles from left to right with height 75. Each tile must have rounded corners, a white background and the text “Dashboard” with a number 1,2,3,4, text in blue #58ADDF , bold and 20px, aligned centre. The tiles need a hover and onclick to another Splunk dashboard. The first tile needs no margin on the left side, and the last one needs no margin on the right side. All style attributes are in separate style tags. Start with the row tag and omit the dashboard tag.
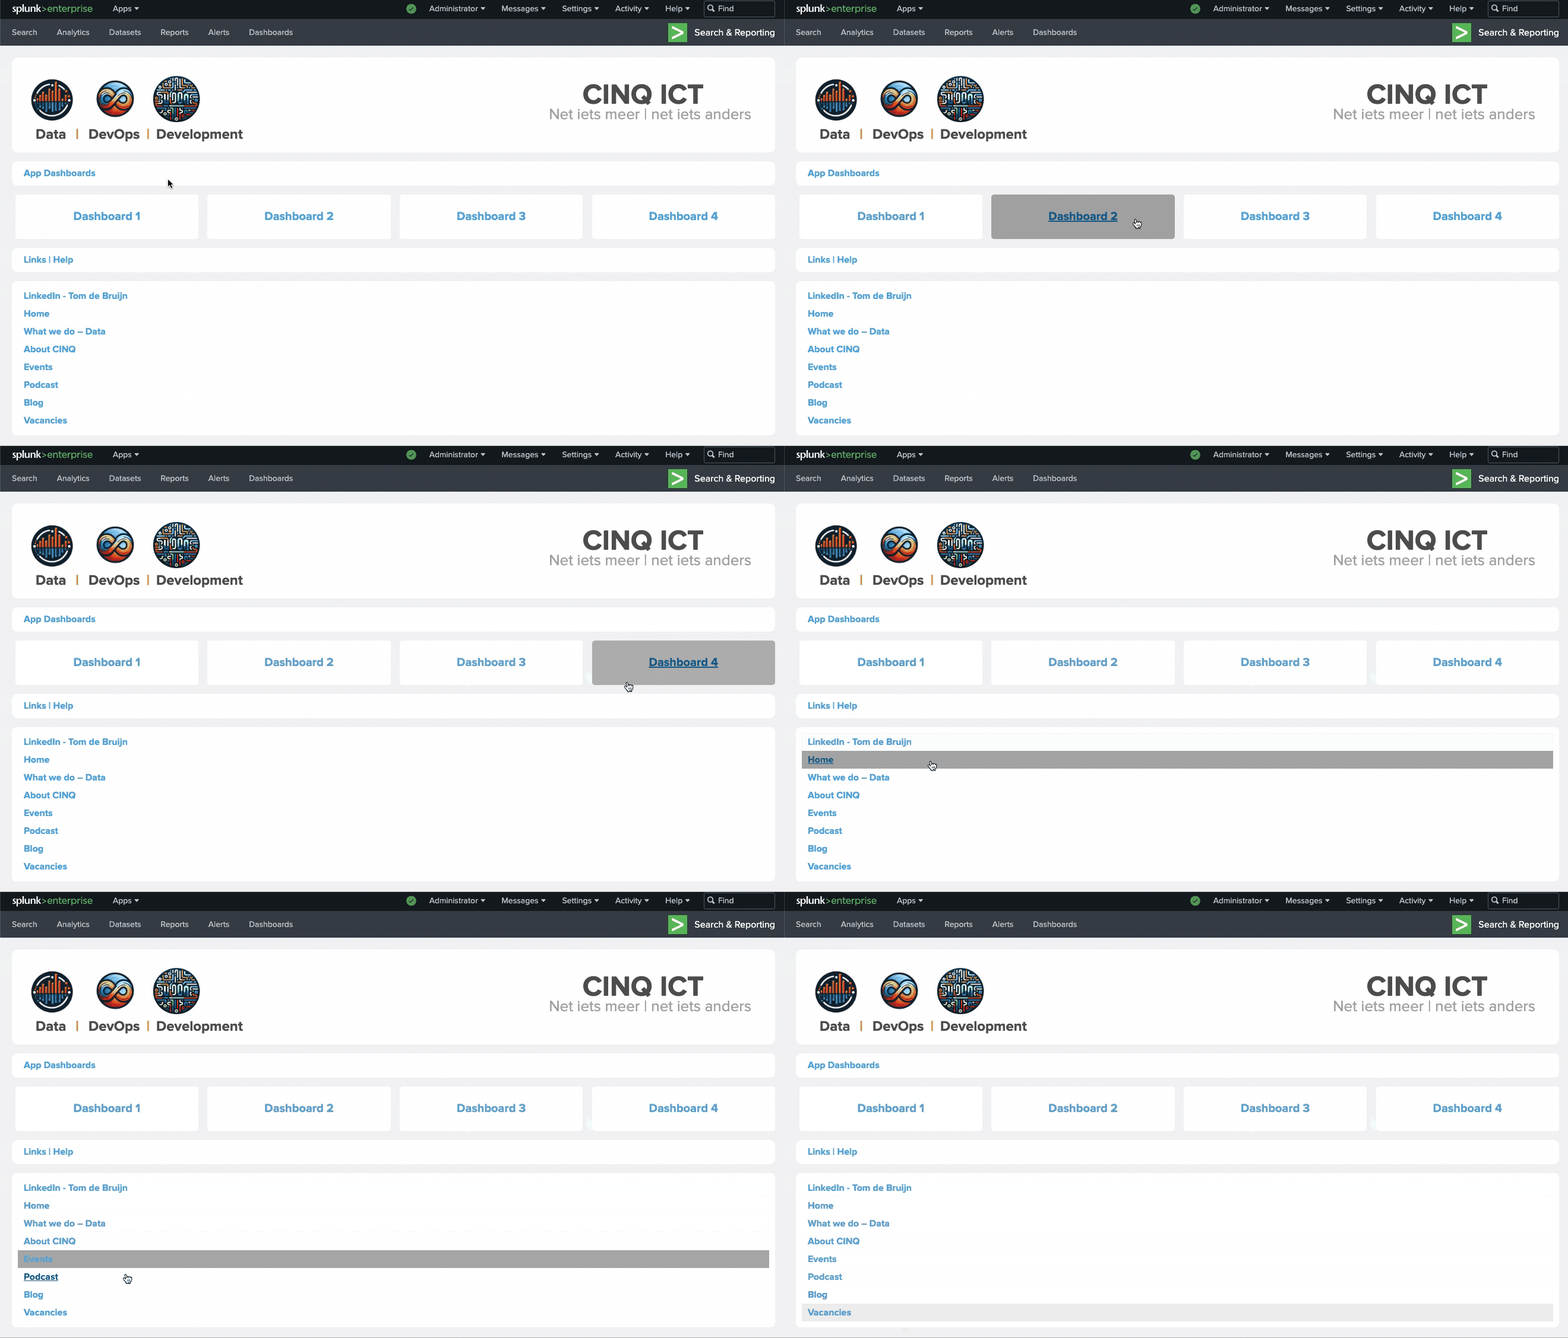
I add the row prompt result from chatGPT between the 2 headline rows, to add the 4 dashboard link tiles. The result looks as below. Note that the hover function is also added and even came with some advanced CSS transitioning for a smooth background change.

Prompt 4 – Links/Help
For an existing Splunk XML dashboard I need a row with a with background and rounded corners. In this row I need a list of URLs underneath each other with mouse hover functionality. The link URLs are: “Home”, “What we do – Data”, “About CINQ”, “Events”, “Podcast”, “Blog”, “Vacancies”, “LinkedIn - Tom de Bruijn”. The URL text in blue #58ADDF , bold and 16px, aligned left. Start with the row tag omit dashboard tag.

After Prompt 4 The final code results in this and looks like below.

I hope you found this case study informative and enjoyed reading the blog! If you'd like to connect, feel free to add me on LinkedIn at https://www.linkedin.com/in/tcdebruijn/. I'm always more than happy to chat or help out if needed.
For now, happy (AI) Splunking!
Tom de Bruijn